
With three years passing since I've started this blog I got to thinking about all the projects that I have worked on in that time. Lots of hands on stuff with everything from 3D printing to fiber glassing projects and 3D computer graphics. Not to exclude wood working projects too. This all has been a lot of fun and so with that it mind I thought I would once again update the logo I use for the blog using Blender 3D software. If you have never heard of this free 3D modeling and animation software I suggest that you take a look at it online. I use it for all of my 3D modeling and this little project of remodeling my logo is made for this software.
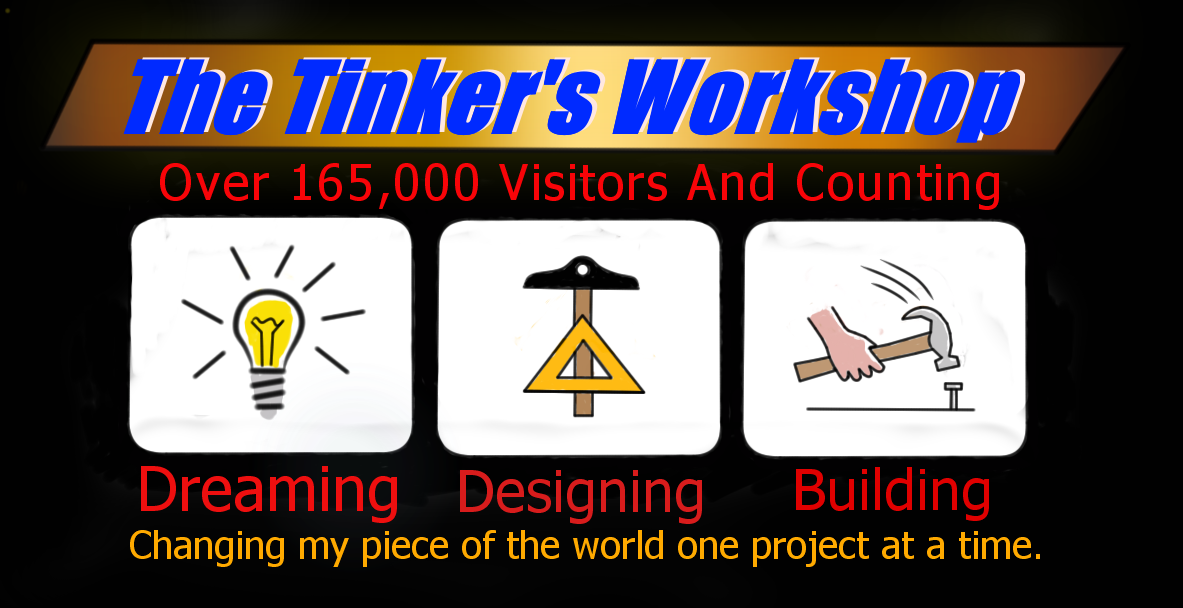
This is an image of the original logo that I did some time back for the blog and have used for some time now. It looks good and all but I thought it could be a lot better. So with that in mind I went to work updating what you see here. The first thing that I thought was to remove the visitors and counting line. Just way to much wording for the logo. Next was to remove all of the cartoon looking pictures for Dreaming, Designing, and Building.

Here was the start of my idea to update the logo. I liked the idea of making it more three dimensional and I think my efforts using Blender 3D turned out very well. The tough part in the image you see above was to make the light bulb light up. Luckily there are a ton of tutorials online that I could search through to put this idea together and make it look right. I removed the "Counting line" and modeled all of the tools to give the logo a more realistic look. I then rearranged a few things to finish it off. I had to tip the entire layout to be able to get the full three dimensional look but with the entire background being black and larger to get everything into my image it still was not just right in my eyes.

I took the rectangular image and brought it into another piece of software from Autodesk called "Sketchbook Designer". Here I was able to remove a large portion of the black rectangle and replace is with an oval instead. This made the tilted logo make just a bit more sense. I then topped it off with another oval ring around the entire image to complete the project. In all it took me a couple of days to get everything put together and working the way I had envisioned it and I think the end result works very well.
For more information about getting your own free copy of Blender 3D go to WWW.BLENDER.ORG. There you can download the latest version of the software plus get a lot more links to forums and tutorials on how to learn to use the software. Also for more images of what I have created using Blender check out the link at the top of the page titled "Blender 3D Creations".
No comments:
Post a Comment