
I wanted to get this post out before I make any further progress with my Scrooch gun project. As with most projects not all things go according to plan. This has been the case again with this project so it was no big surprise for me. Parts have taken longer to dial in and some parts needed to be totally scrapped and the list goes on from there. But I want to show what progress has been made in the right direction to complete the project.


Here once again are the original images of my computer model for the project. In these images I will explain what has happened and what needed to be changed. On the rear of the gun a new display has been worked out that I feel is an improvement from what I had originally planned. This being a digital display (non-functional) and an red on/off switch (again non-functional). The chrome inserts on the side of the gun had to be scrapped completely. They look good in these images but turned out to be way to small to actually be built to look like the images above. The name Scrooch Gun on the side also needed to be scrapped as this was near impossible to make on my vinyl cutter. Super tiny would best describe the letters which made it awful to try and work with the vinyl as a decal. Other plans have been worked out for a new design for the sides of the gun.
The good news is that the red disks, clear dome front, trigger, orange canister, and pistol grip look to be right on the mark to what you see here. So read further to see where I am with the build now.


I started this project by drilling out the center of the empty can of shaving cream. This was an easy task for my drill press and by using a small grid laid out on paper to get the positioning of the hole correct on the bottom of the can.

I then sanded the canister down to take most of the paint off of the outside before I sprayed it with a nice bright glossy orange color.
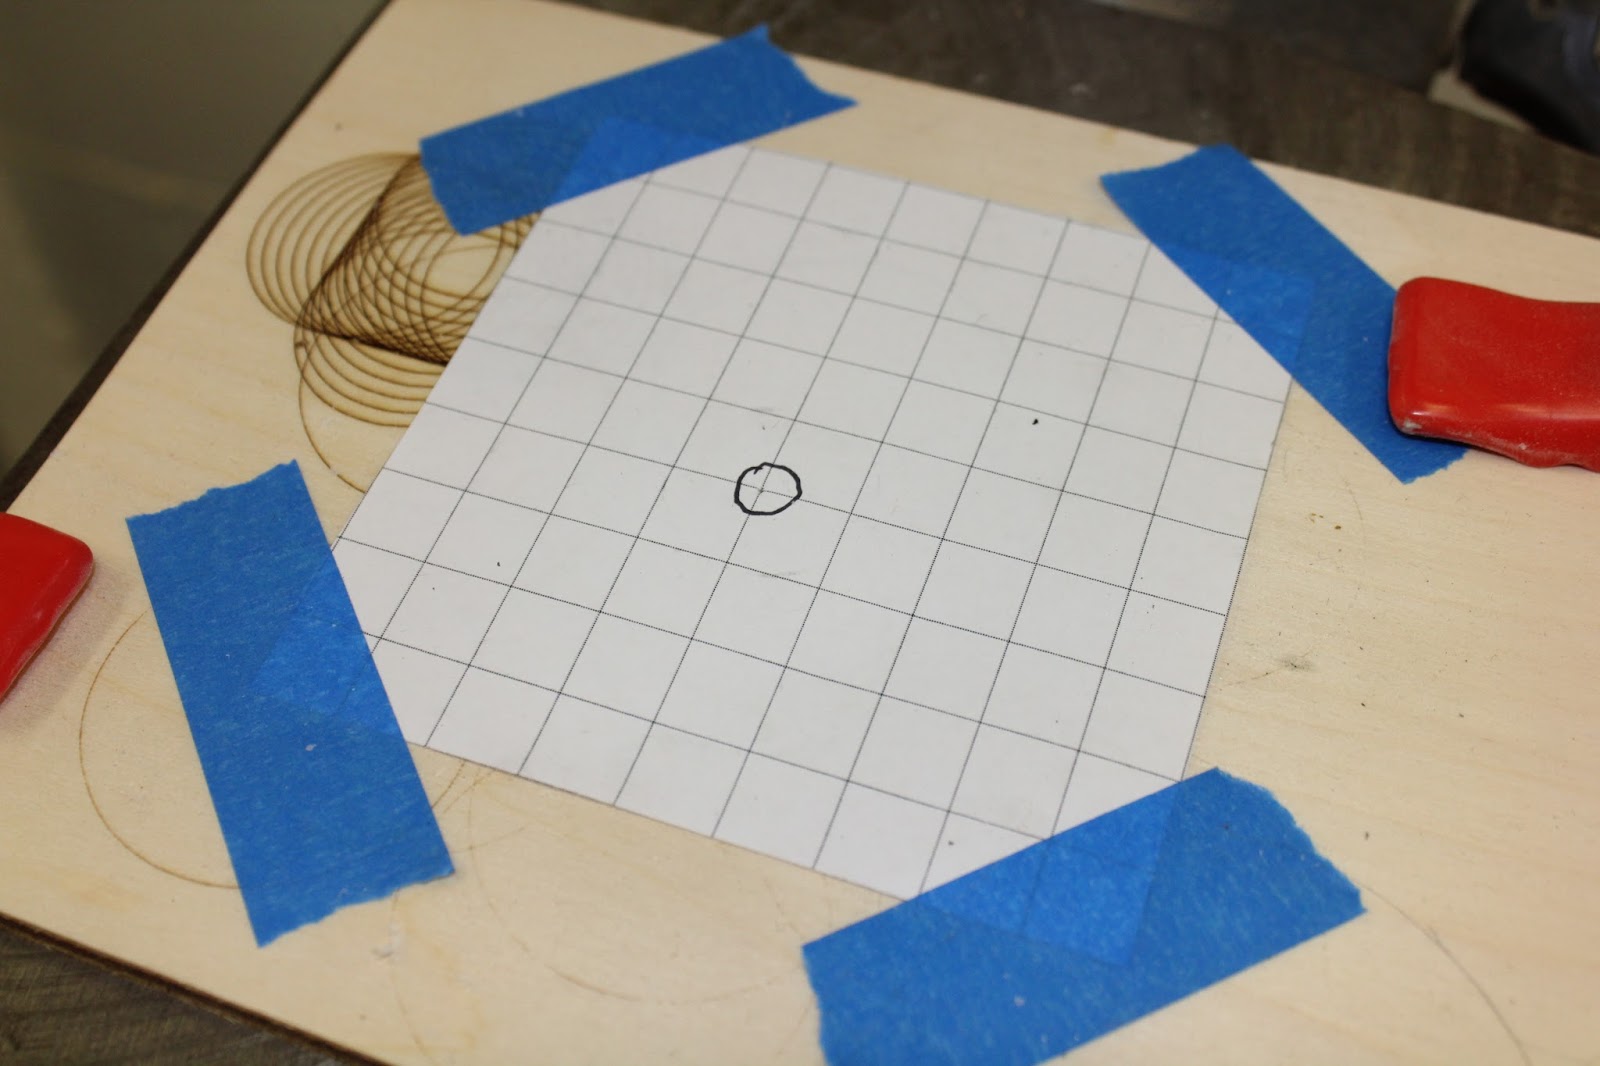
Here is the paper grid that I used on the canister and needed for the next portion of the build.


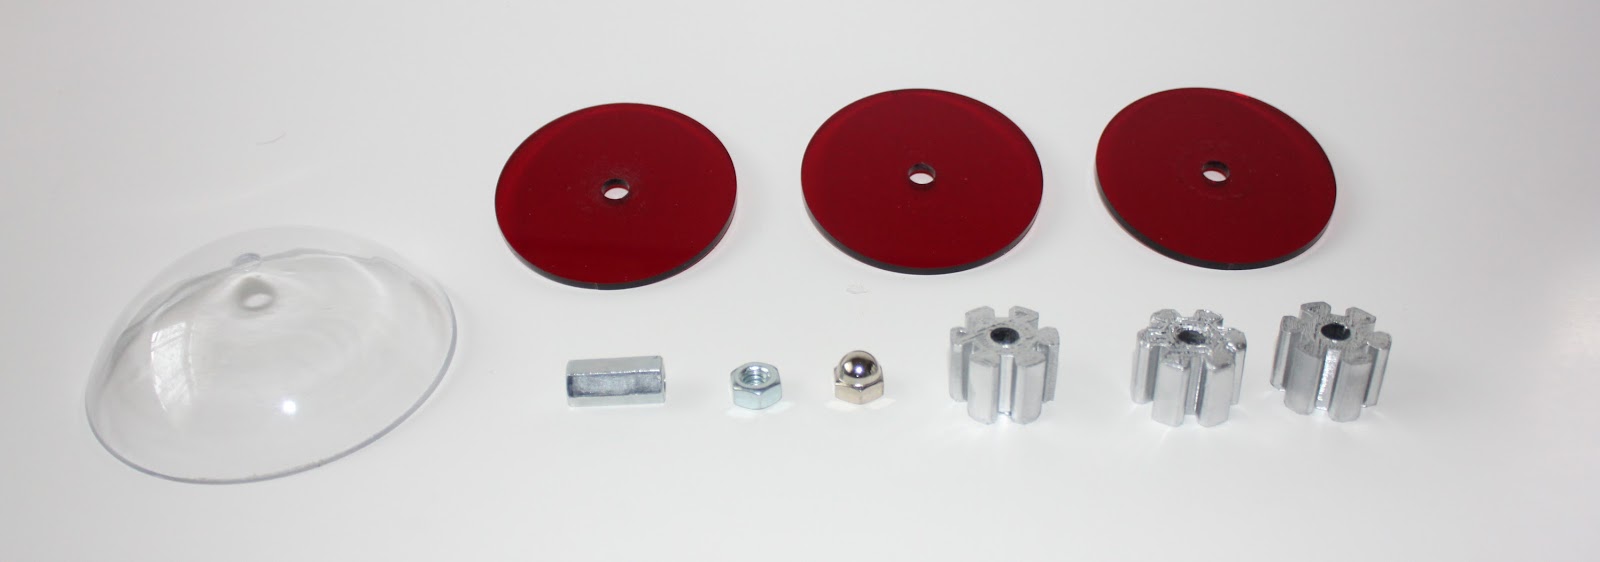
I took a plastic half sphere normally used for a Christmas decoration and cut it down to make a flatter dome shape for the front of the gun. With the grid laid out on the drill press I was able to pinpoint where the drill would be centered on the grid and then placed the dome to match it's location to center the hole needed to mount it on the gun correctly. This worked out pretty well and I am happy that I came as close as I did to hitting dead center on the dome. So it was worth the effort.

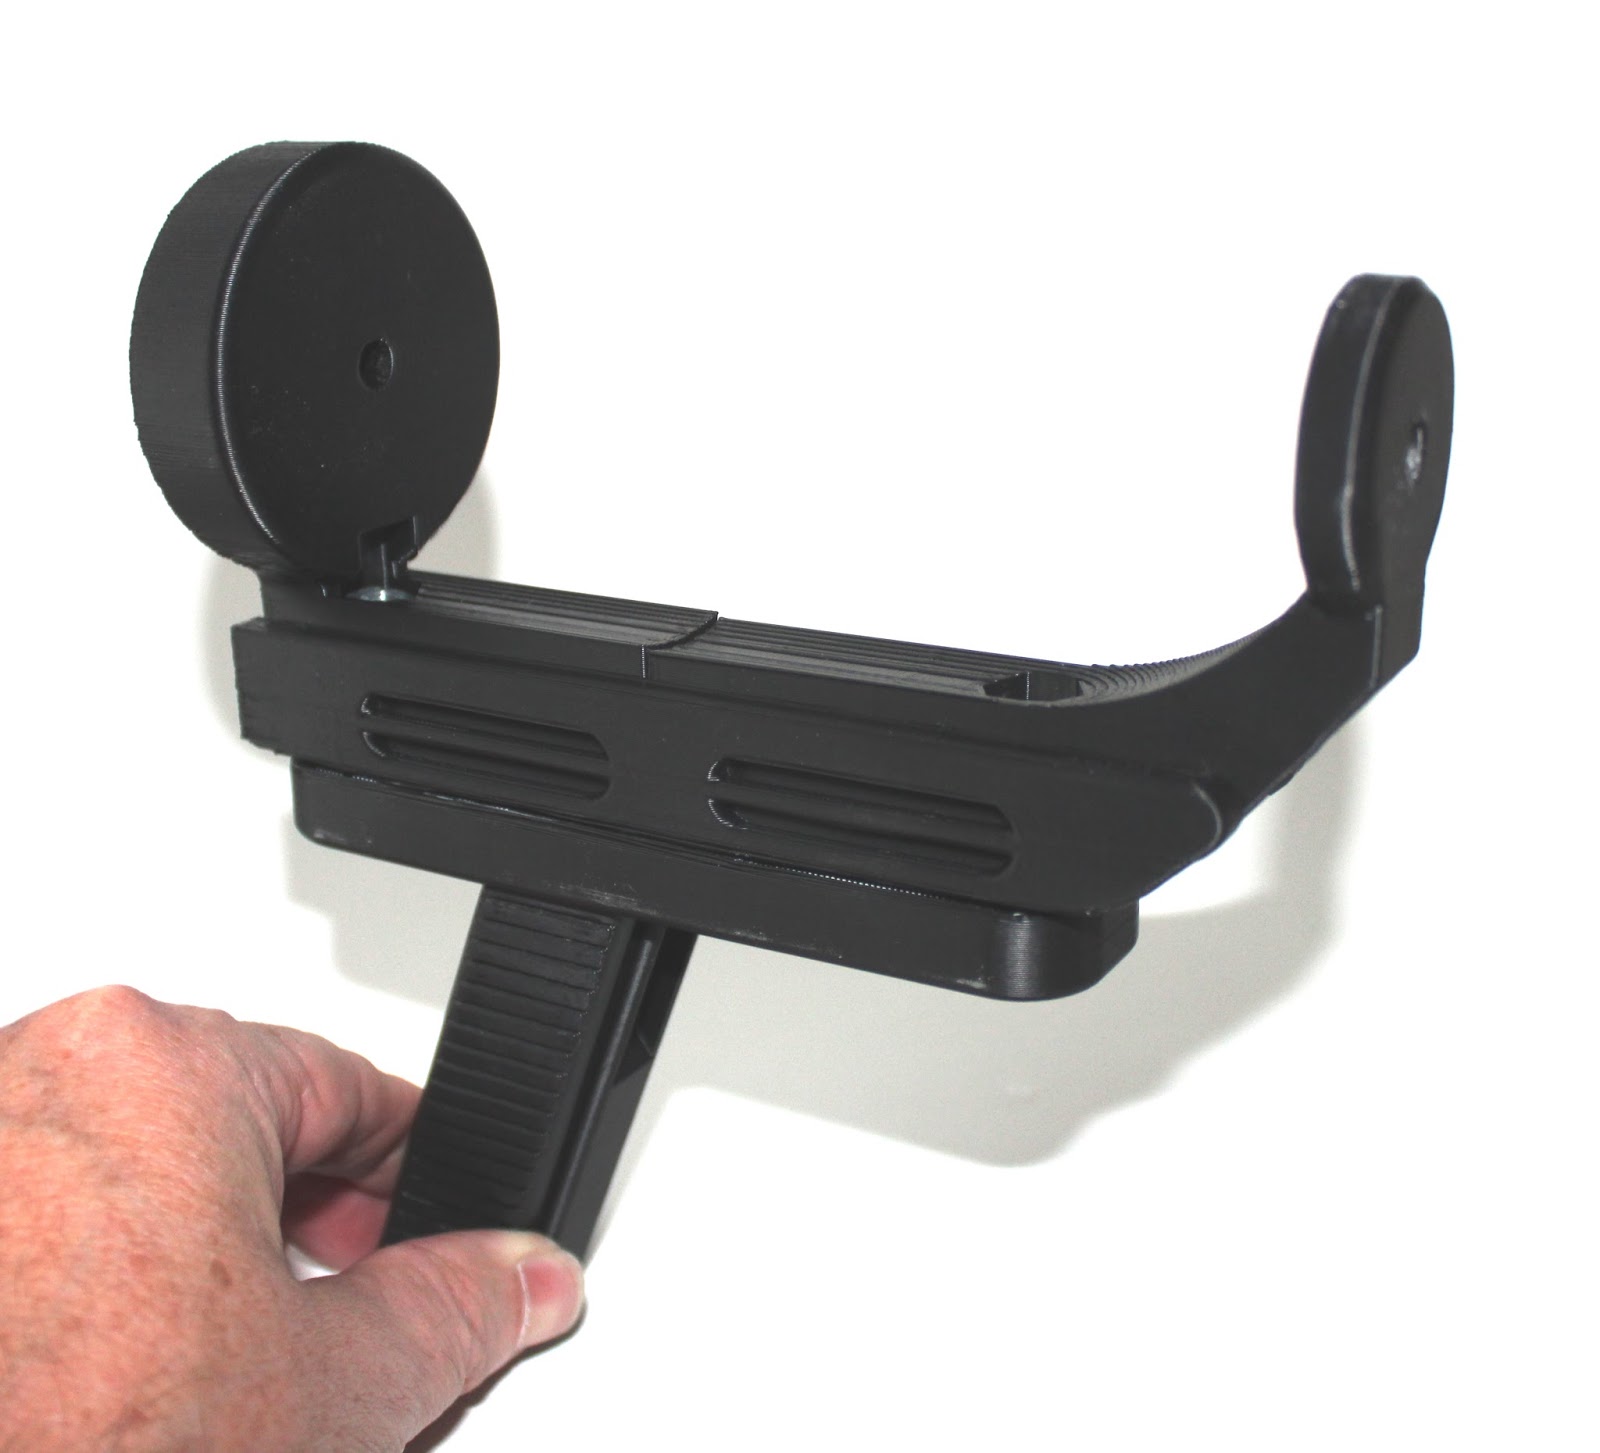
For the red disks for the gun I was fortunate enough to get my hands on a laser cutter that is now up and running at the makerspace where I teach CAD and fiberglassing. I again worked out the files I needed for the laser cutter and in 30 seconds the parts were cut out perfectly. I couldn't have ever cut these out by hand this nicely. I could try but I doubt I would get this good of results.

Here's a good shot of the barrel or should I say blaster end of the gun assembled on to a threaded rod that runs through the entire assembly to hold it all together. I really like the red disks along with the silver painted 3D printed parts of the assembly.
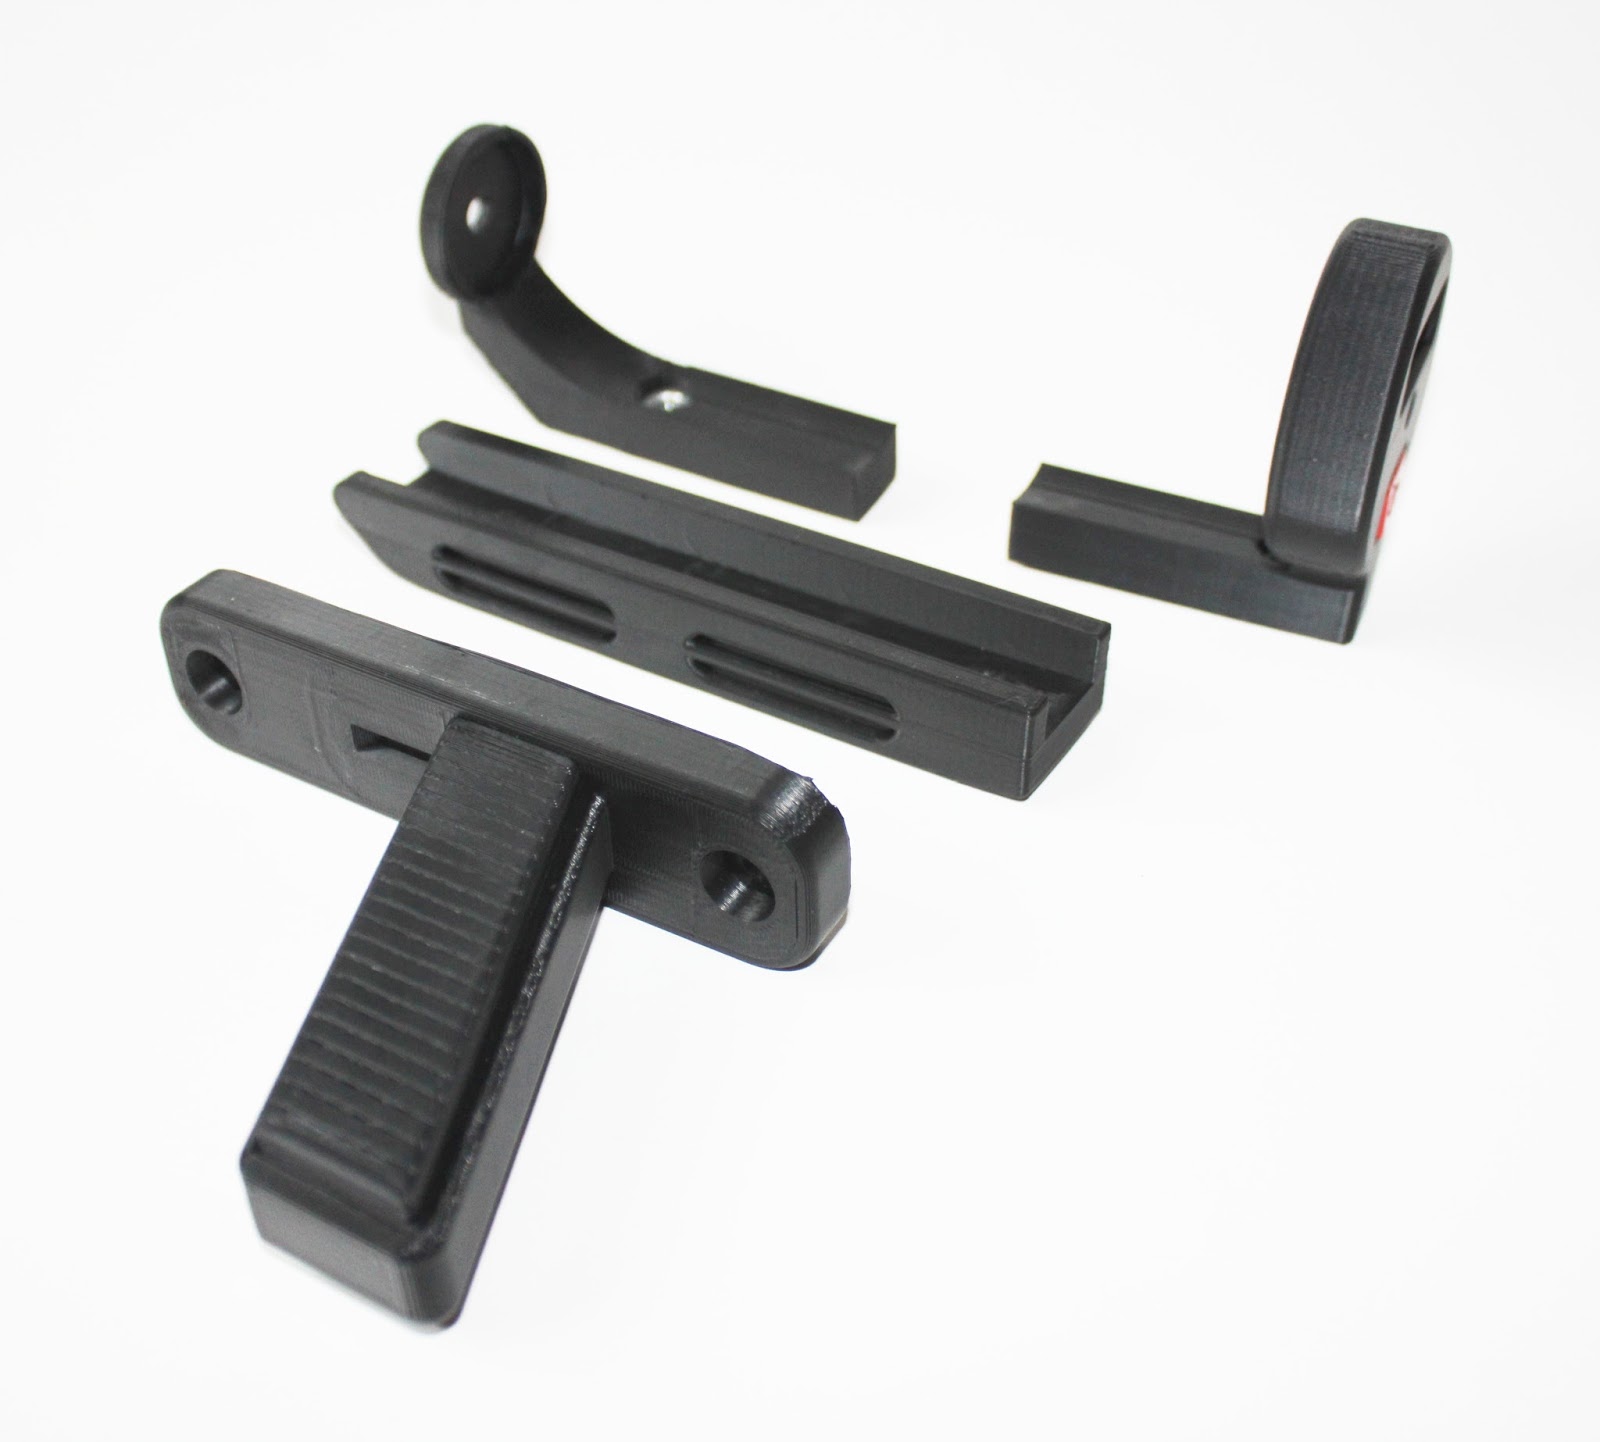
Here are the parts that make up the body of the gun. All are 3D printed and pretty much worked out as planned. All except the one
that is in the upper right corner of the photo. This piece took two hours to 3D print which in the scheme of 3D printing in general is not a terribly long time. Only trouble is that it took me three tries to get it dialed in to work correctly.
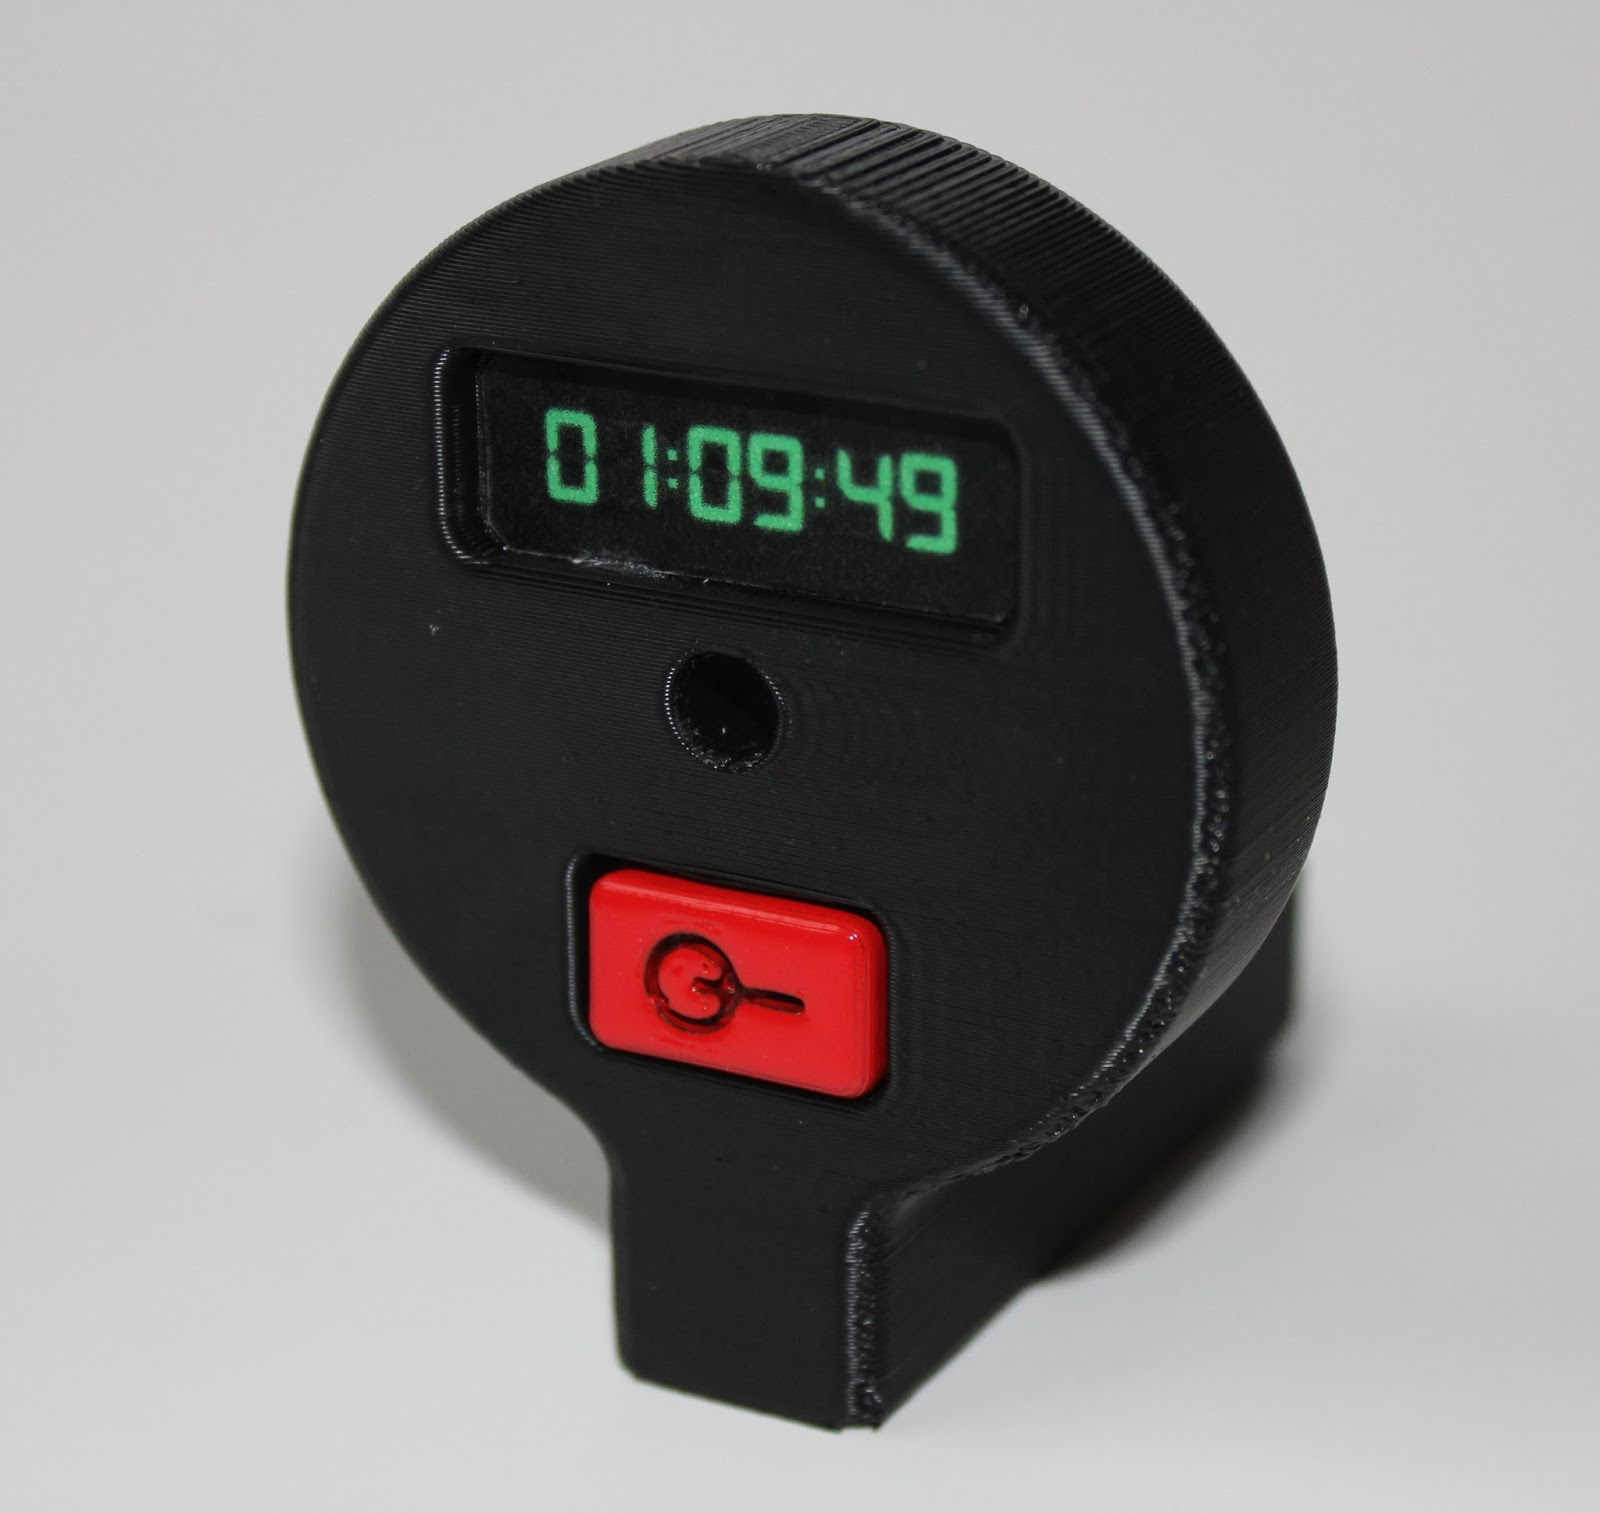
Here is a good shot of the rear of the pistol with the digital display and on/off switch painted and installed into it. These are nice details that will make the Scrooch gun stand out when it is completed.
Another good reference shot of the 3D printed parts assembled without the orange painted canister or the blaster front mount assembly. All of these parts are held together with just two button head bolts that are mounted in the base of the assembly and held in place with two recessed nuts in cavities in the two upper mountings for the orange canister.
I should have the pistol completely assembled in the next few days.
I will make sure to put out the final posting about it and let you see the end results. I think you'll like it. Until then have a good day in your workshop.
No comments:
Post a Comment